The week before we scanned body parts. My upper body was scanned and I worked with this scan in meshmixer
Since movements happen during a scan there might be some wholes and cracks in the result, which can be smoothed and filled in meshmixer.
You can select areas and say fill crackas or press "sculpt" and then use a brush to smooth the body. Via "analysis" and "inspector" this works too.
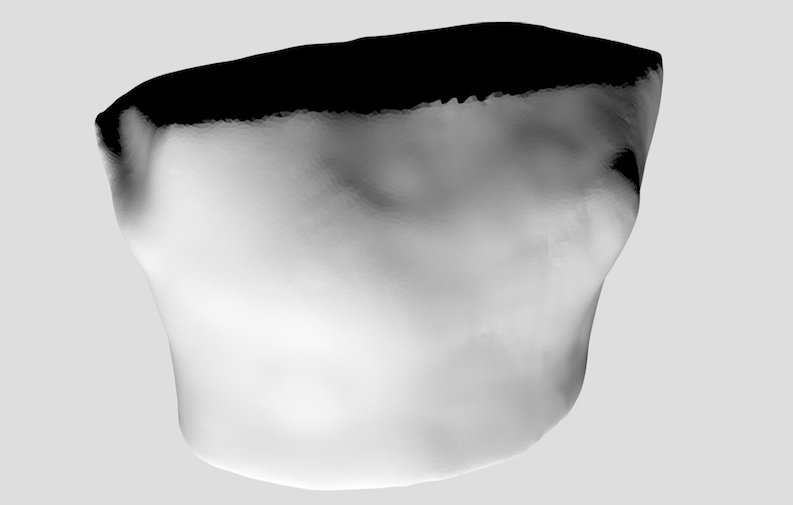
The next step was to export this file as STL binary format and then open it in Fusion 360.
We took the measurements of my upper body's lenght to build a rectangle in fusion that has the same hight. The scan was placed on it to be oriented by the rectangle.
Around the body we built a zylinder and pulled it right over the body so that it surrounded it fully. Then we pulled it closer to the body and edited the form so that it was similar to the scan.
Then when you think you are done, you "turn off" the mesh and press "finish form". When it does not look good yet, you can make adjustments. Sometimes you can also use "auto repair", but it does not work perfectly always.
Then you go to scatch, line, and draw a line through the middle of the body and split the body in half. Do illustrate the seams you can go to sctach and then spline and draw them where you want them.
Then you press split face, you select the body as the split tool. You have two pieces now which now are saved and then uploaded in exactflat.

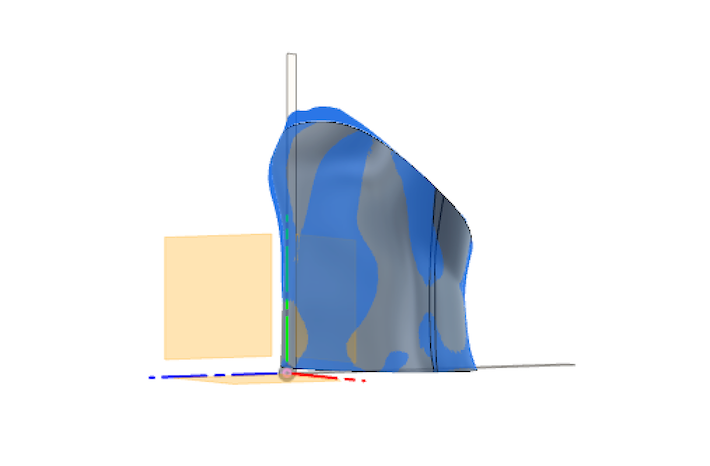
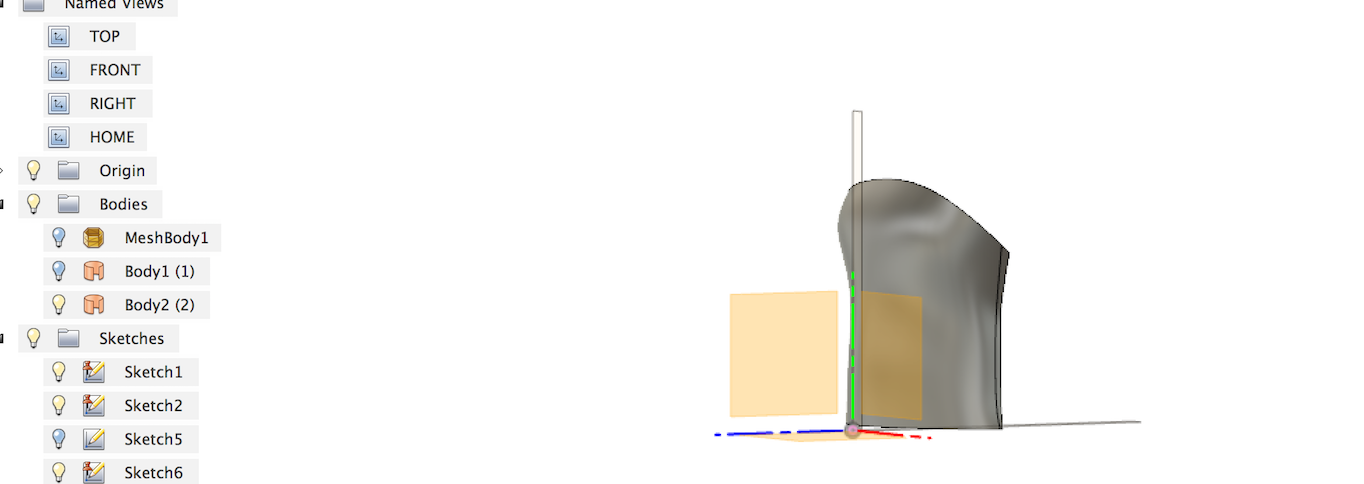
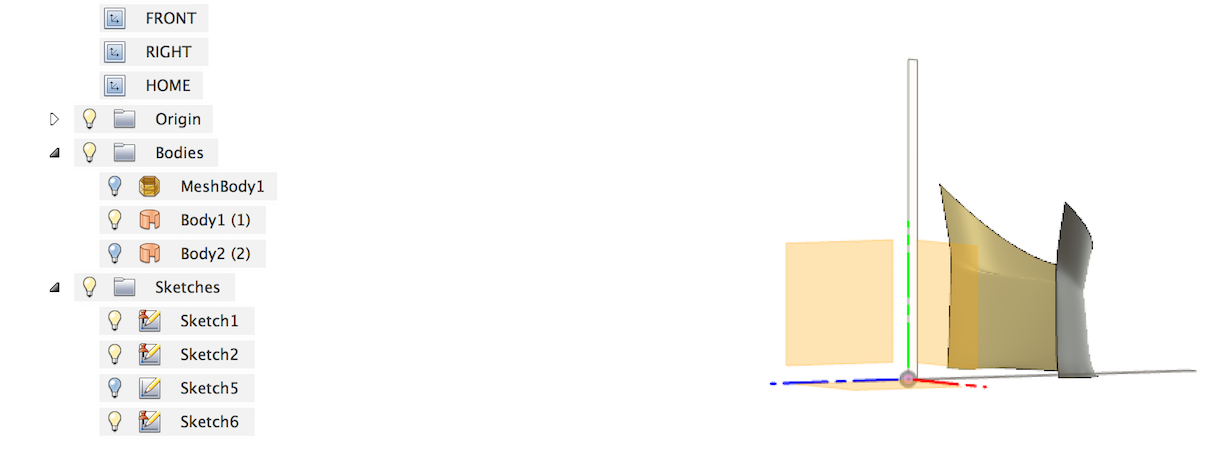
Now, in exact file, we work with two individual bodies. In this case: the front of the corsette and the back.
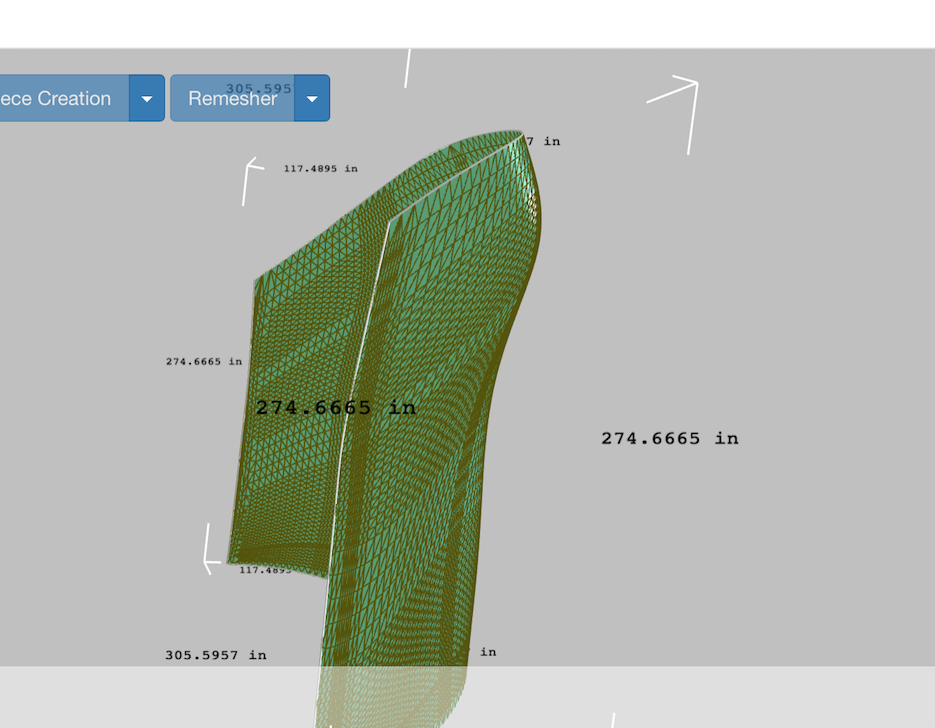
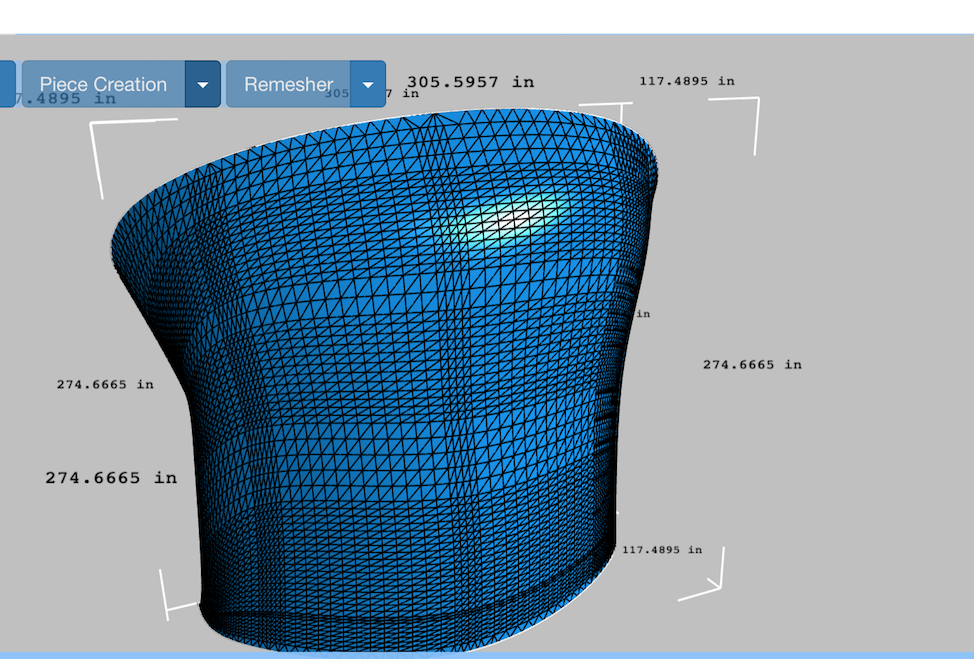
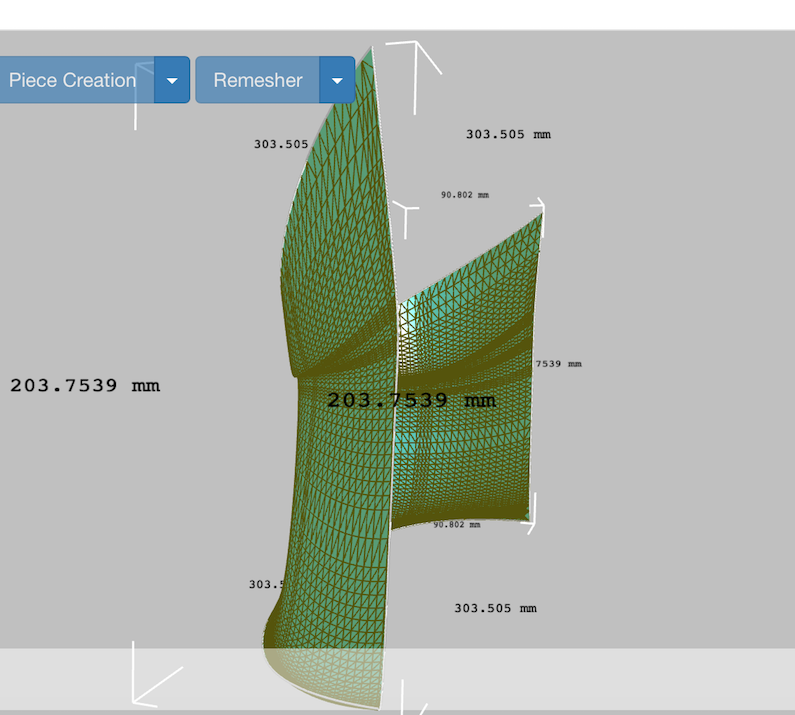
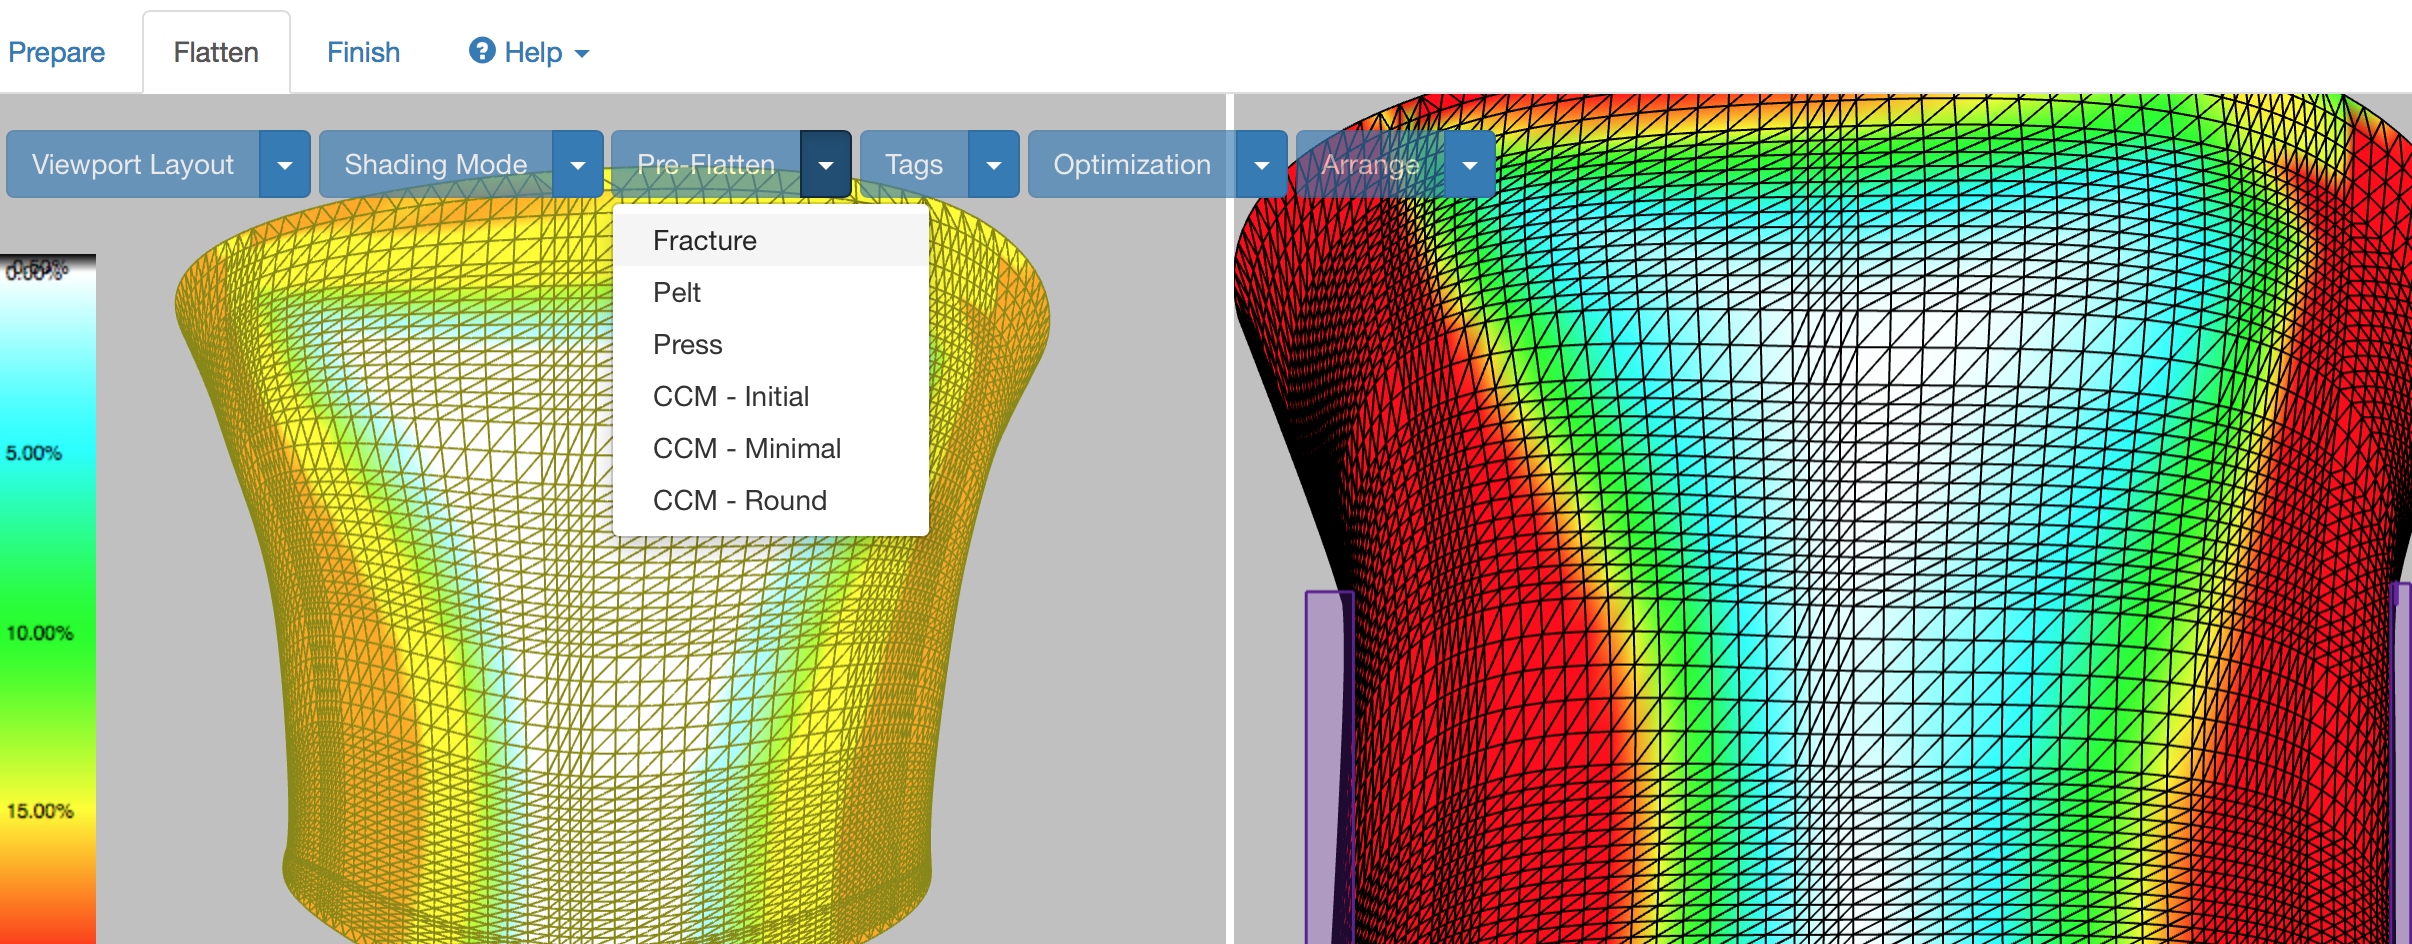
In exactflat we can choose the fabric and take the last adjustments until we save the data and bring them over to the laser and the connected computer.
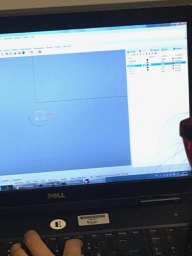
Here we first try out different settings in little squares so that we know with what settings we laser the outer line and the inner seam. The inner seem is for sewing later on. You can change settings for the speed, power, and time.
Speed is how quickly or slowly the laser nozzle will move around.
Power is how powerfully the laser fires regardless of speed.
Making the settings last a while, where as the laser itself does not take too long.
To know the setting you create little squares with different settings. For my final cut I chose 50,40,50 for the outer seam and 100, 5, 50 for the inner seam which was not supposed to be cut through totally, but just to become visible for sewing later on. In case the seams are too close together and you want to make them wider: delete the inner seams for example. You "offset" and "trim" to make a new seam and then delete the little overlapping parts.
.jpg)
On the computer you set go to print, properties and color mapping and then choose the layers for the seams. The colors will help you later when choosing the settings that worked best.
.jpg)
You chose your fabric on exactflat. Now you get it and place it flat on the laser. With moving the "jog" you can decide where the laser (red laser point) should start. It would start close to the top left corner.
.jpg)
On the laser cutter you can, as said, locate the laser point, and see your job that is supposed to be cut. And later on press start. But first...
.jpg)
You need to turn on the vacuum cleaner!
.jpg)
Here you can see the test squares. The first row was not very good. Until I found the best settings I had to make 3 tests.
.jpg)
This is the finished cut. The front and back part of the corsette.
.jpg)
Here I am wearing the corsette.
.jpg)
And again the end results and in a close up, too.
.jpg)
.jpg)