Index

Bottropper Werkstätte and knitting

Interdisciplinary Project Winter Semester 2018/2019 Rhine-Waal University of Applied Sciences FabLab Kamp-Lintfort by Adriana Cabrera, Prof. Karsten Nebe, Prof. William Megill Faculty Enviroment and Energy

We talked about how to approach the final project. These are the stops we should keep in mind:

  • Define Problem
  • Research
  • Specify requirements
  • Brainstorm, evaluate solution
  • Develop prototype
  • Test prototype, what worked? What didn't work?
  • Communicate work

  • Our ideas for titels:
    third eye, big eye, sight, sighteye, AE (addedeye)


    Presentation about the Bottropper Werstätte/Diakonie

  • people do "internships" for 3 years before really working there

  • Shelves' lightning at ALDI are built there for example

  • Qualifizierungen:
  • garten- und landschaftsbau
  • Retail (supermarket)
  • edv prüfungen
  • holz- und metallbearbeitung
  • hausmeisterserivce
  • tierpflege

  • And so on


    Knitting

    Small needles in a row pull down the yarn. In the machine you can adjust everything, for example if you need a pullover with only one arm or trousers with only one leg.
    There are resting needles and working needles. You need to position the needles and choose the amount of needles you want in order to get other patterns.
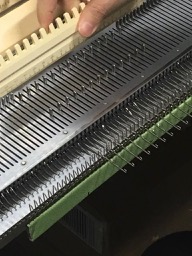
    When you start knitting, you need to "close" the yarn in the beginning or first row so that it does not rip pr tear later on.
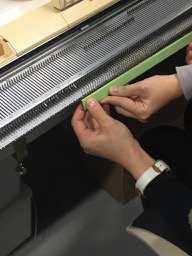
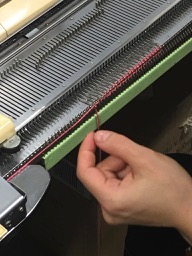
    The needles need to be opened as you can see in this picture
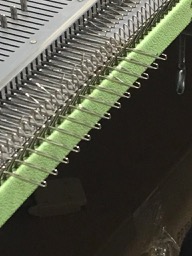
    Then you pull and position te yarn, hold the end and knit the first row. It is closed now and you can release the green object and let it hang losely.
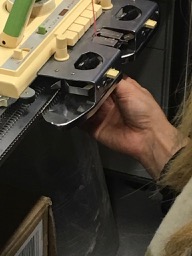
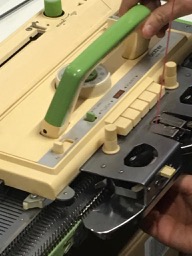
    Here you can see that a few rows have been knitted
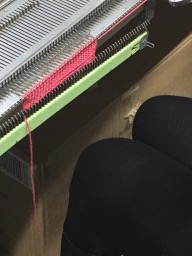
    With adding this plastic piece and adding a second yarn you can knit in different patterns and create images and so one.

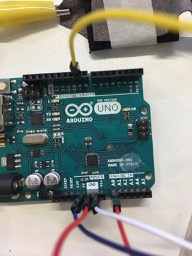
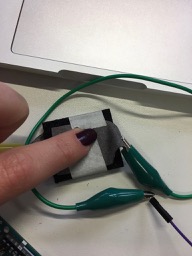
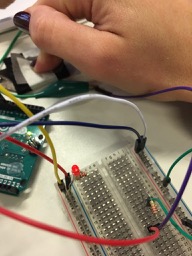
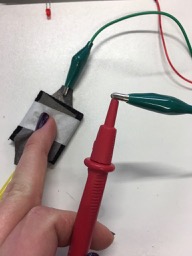
    We also created sensors by cutting some fabric that is conducting.
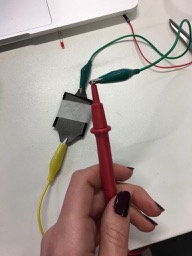

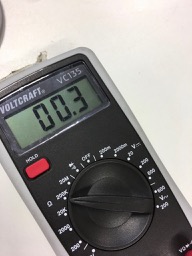
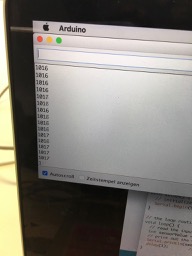
    The resistor was 25.5
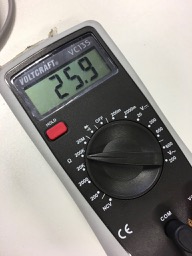
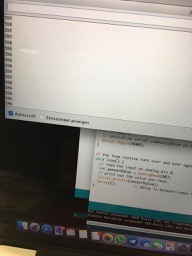
    When putting pressure on the fabric you see the the resistor changes


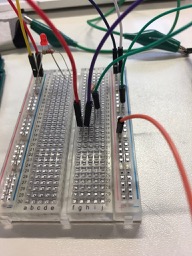
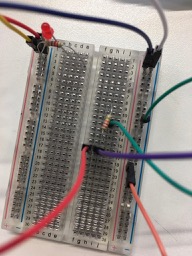
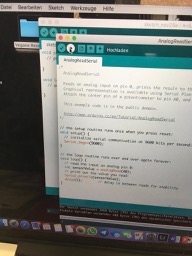
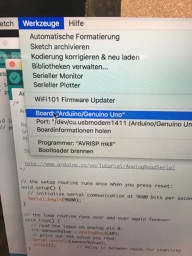
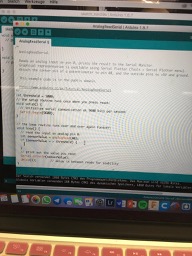
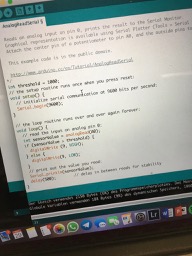
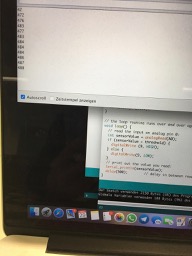
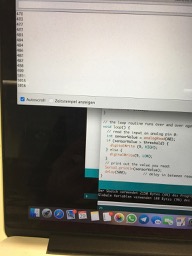
    here you can see the steps in Ardunio
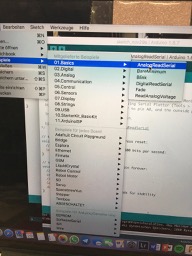


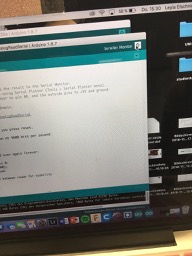
    You can see that the numbers change and pushing on the sensor